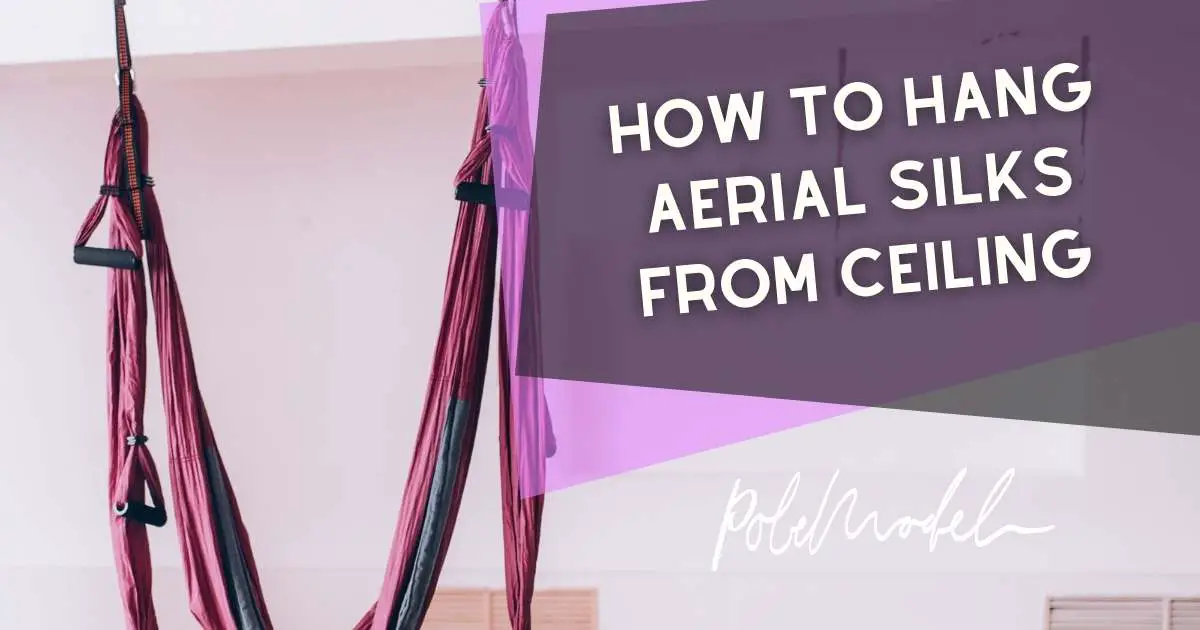
You’ve been practising silk for a while at the local studio and now you are thinking of hanging one at home to use. Yet, you have no idea how to go about it: How to attach the silk set to the ceiling mount or exposed beam. Well, this post is for you!
But before I tell you how to hang aerial silks from the ceiling, I wonder if you’ve considered the following factors;
Things to Consider Before Hanging Aerial Silks from The Ceiling
Is The Space Enough for an Aerial Point?

Even though an expert aerialist can work with any amount of space, it’s important to have enough unobstructed room in your house to practice. Unless you want to risk bumping into things.

For silk, you need a minimum height of 16 feet and a radius of 6 feet clearance from the anchor point. You will need space for the crash mat too. Clear some room that can accommodate a 5’×10’×1′ mat.
Is Your Rigging Point Suitable?
You need to have the structural beams in your house evaluated before putting up any aerial apparatus. As Much as they may be holding your home up, they may not withstand additional weight.
Therefore, it’s proper that you find a qualified rigger or a structural engineer to inspect the type of ceiling beam you got, the density and capacity of load it can hold.
Aerial Equipment: Do You Have the Correct Silk Set?

Bear in mind that there are lots of equipment in the market that resemble the proper aerial silk and hardware but they are not. Avoid these pieces by purchasing from reputable aerial companies such as Circus Concepts.
Proper aerial equipment is usually tested and proven for safety and has a Maximum Breaking Strength (MBS) or Working Load Limit (WLL) rating.
Are You Really Ready?
You may have had your rigging point confirmed to be suitable for aerial activities and you have the right apparatus and enough space but…
Can you practice without the supervision of an instructor?
Do you have enough experience to do it alone? Rigging alone can be dangerous, at least get a spotter and always have a crash mat.
How To Hang Aerial Silk From The Ceiling
Equipment Needed:
A proper aerial silk system should have the following components;
- Carabiners
- Strops
- Figure-8 / rescue-8
- SwivelsFabric/silk
- Crash Mat
Strops

Strops are straps that connect the carabiner to the anchor beam or ceiling hooks. They are found in varying sizes between 50cm and 4m. There are various ways you can tie the strops onto your beam or ceiling mount. See here.
Carabiners
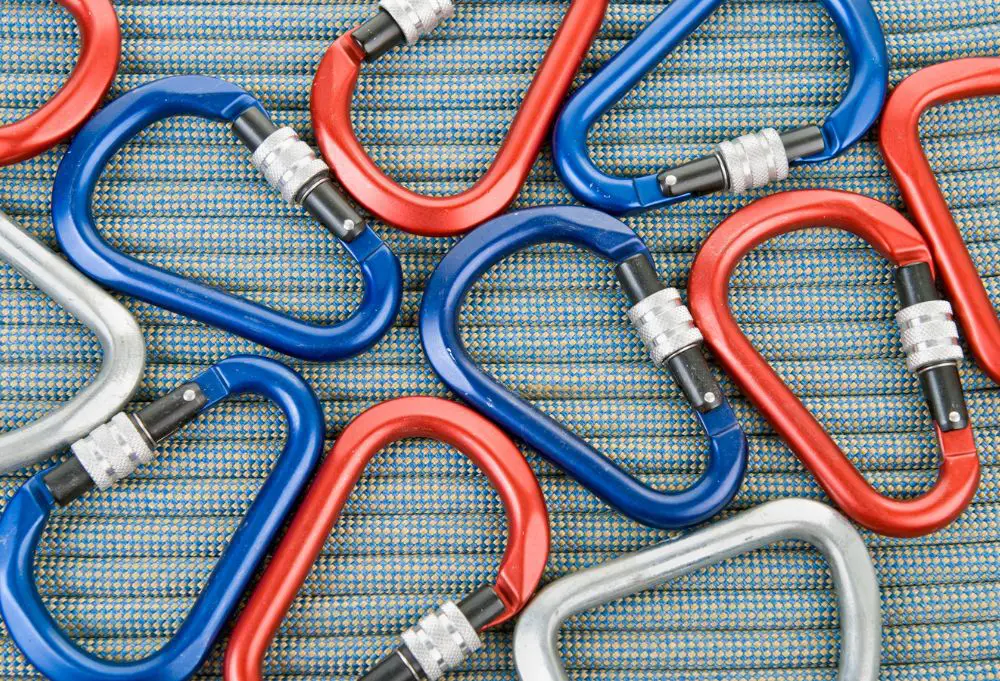
Carabiners are used to link two pieces of hard gear together. They can either connect figure 8 to the strop, the strop to the anchor point or the swivel. Take note that carabiners are built to hold the weight along the major axis only. Do not, therefore, cross-load it. Also, go for;
- D-shaped carabiners. They are tougher than oval-shaped ones.
- Locking carabiners. Here’s why.
Figure 8 / rescue 8
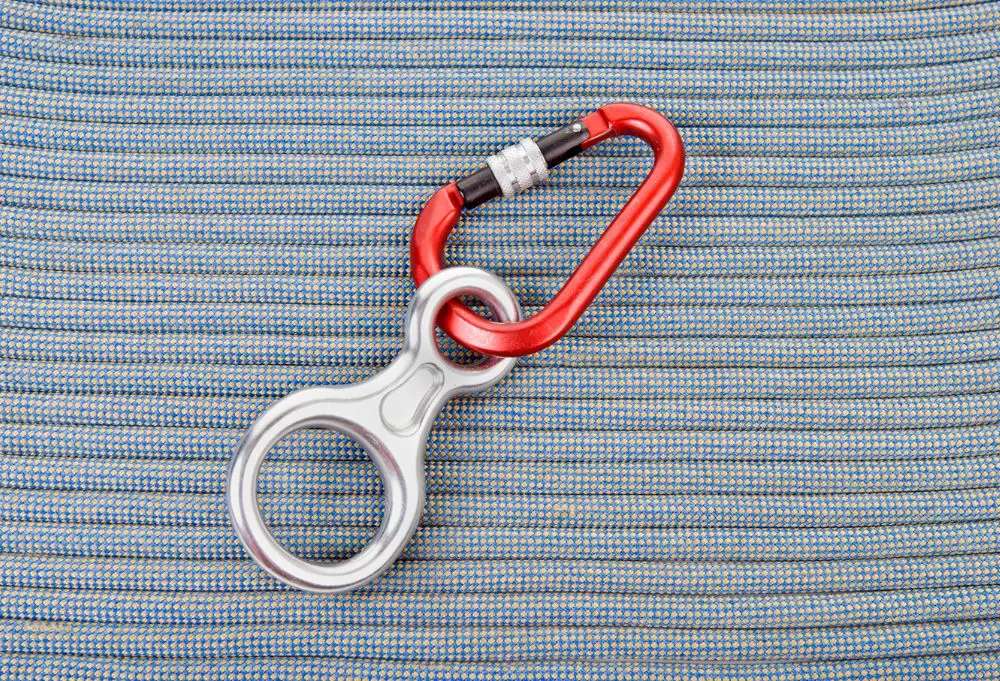
Just like its name, it is an apparatus that resembles the number 8. It is where you hang the silk. The fabric is intertwined in it securely then it’s connected to the carabiner.
Here’s how you can do that.
Swivels
A swivel is an important part of the rigging system as it enables the silk to spin as you move, thereby, preventing it from twisting which can be hard to unravel. A swivel is usually attached between two carabiners.
Always use a swivel as it makes you move safely. Inspect it for cracks, irregular rotation or sharp edges every time before using it and keep it away from heat, water and other corrosive materials.
Fabric
Different aerial silks have different degrees of stretchiness. The higher the stretchiness the more the give and bounce it will provide when you do drops.
Silks also come in varying widths and textures. Wider silks are less painful when wrapped around a body part but can be difficult to hold if you have small hands. Silks with high sheen make smoother slack drops but can be hard to grip. It’s therefore suitable for advanced aerialists.
Crash Mat
Invest in a big crash mat, with the right thickness. It is extremely important since as an aerialist, you are at high risk of falling and crashing your head, limbs or spine.
A good crash mat should be able to absorb the force you’ll exert when you fall. They come in varying thicknesses but it’s recommended to have at least a 20cm thick or more mattress.
Steps:
Step 1: Attach the silk to the rescue-8. Find the middle part of the fabric, fold and hold it, then bring it through the larger segment of the rescue-8. Set apart the tails of the fabric and then push the middle part through the tails and back up through the larger segment. Then set it up over the smaller segment and tighten the ends to secure it.
Step 2: Connect the rescue-8 to one of the carabiners then connect the carabiner to one end of the swivel.
Step 3: Connect the second carabiner to the other end of the swivel and finally attach it to the strops tied around the beam or on the mount screwed to your ceiling joists.
Watch this summary video to help you understand the steps better.
All in All…
Rigging at home can be extremely dangerous if you don’t take safety precautions seriously. Have your space and anchor points evaluated by an expert, buy a legit silk set from a reputable and trusted brand and set it up correctly as per this article.
Finally, for the love of all that’s aerial, do not climb that silk alone without clearance from your instructor. Enjoy flying!
For more quality content like this, be sure to check out the Pole Model Youtube Channel!
See you there 🙂


